Cable & Wire Surface Defect Inspection Equipment
Vision-Based Surface Defect Inspection for the Wire and Cable Industry
Detect surface defects on wire and cable with Taymer’s vision inspection systems capable of using machine learning. These systems integrate into your production line to perform precise visual inspections, identifying wire and cable faults such as pinholes, scratches, lumps, and more. Ensure the highest quality and reliability in your wire and cable production with Taymer’s technology.
Looking for Print Inspection? Click here
Book a demo
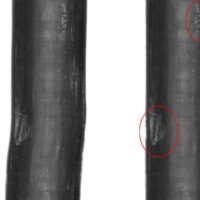
Surface Defect Inspection
The Surface Inspection (SI) series vision systems have been designed to capture, analyze, and judge every square millimeter of your product.
The Surface Inspection systems are advanced tools available for operators to completely ensure cable jackets are defect-free on high-speed production lines. The SI systems will help you reduce costs in your production facilities through reduced rework and improved productivity.
The series has different camera configurations in order to adapt to your specific requirements and are the most thorough methods of detecting surface flaws available.
SI is used on products like: cable jackets, wires, pipes, tubes, bar stocks, water soluble tapes and more with surface defects including pinholes, bulges, neckdowns, surface blemishes, discolorations, tape mis-wrapping, wrinkles, tears and many more.
Machine Learning
Taymer’s vision systems utilize machine learning software to accurately classify various defect types.
This advancement enhances the accuracy of our vision systems, enabling them to differentiate between false and true defects. The software undergoes extensive training to further distinguish and classify defect types such as water spots, pinholes, scratches, and lumps by analyzing a diverse range of classified defect images. After processing sequences of each defect type, the software can perform real-time defect classification during production.
This advanced feature leads to a more precise quality assurance report, empowering your quality control process with enhanced accuracy and reliability in results, ensuring that only genuine defects are flagged for further action.
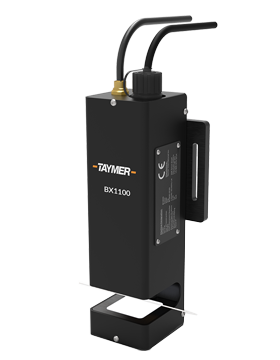
BX1100-i
Braiding Defect Detection
The BX1100-i is a versatile inspection system designed to ensure the quality of braid coverage on industrial products such as shielded wires, pipes, and hoses.
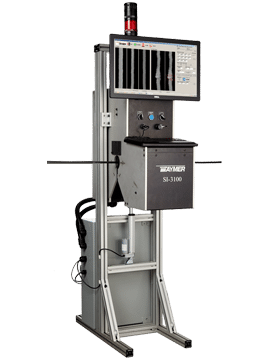
SI3100
Surface Defect Detection
The SI3100 is designed to inspect small to medium diameter cables, pipes, and tubes with precision using 3 integrated cameras. Capture detailed photos of surface conditions and dimensions to help reduce product defects and ensure quality control.
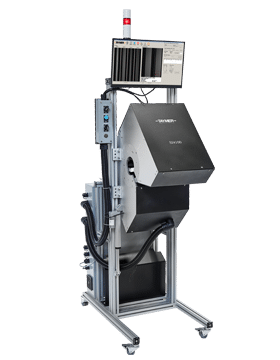
SI4100
Large ODs Surface Inspector
A larger diameter cable, pipe, or tube can be inspected using the SI4100, which has an additional camera to ensure that every part of your continuous product is inspected.
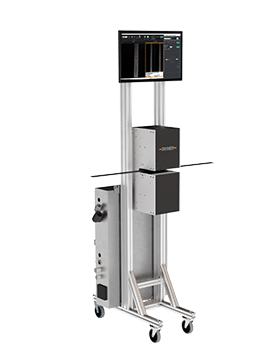
SI2100
Surface Inspection – Dual View
Our dual-camera-view SI2100 system enables simultaneous inspection of two different surfaces at once. In typical applications, it inspects flat products (strips, wires, etc.) on top & bottom.
WI1300
Wrap Defect Inspector
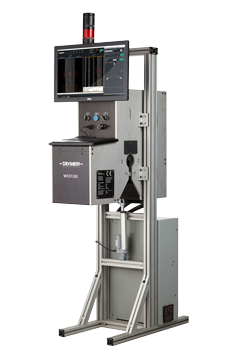
The Wrap Defect Inspector is the only tool available capable of performing thorough inspections of wrapped cables for wrapping flaws such as wrong pitch angle and overlap.
CV2000
Continuous Color Verification
The Color Verification system allows the operator to receive instantaneous digital image feedback about the current color quality for any production line.
SI1100
Surface Inspection – Single View
Inspect a specific area of your product with the SI1100 single-camera system. Inspection of welds and flat products, such as bars, tape, and profiles, is the primary use of this system.
SI4100-LP
Surface Inspector Cams & Laser
Every square millimeter of your product will be captured by the SI4100-LP Cameras and Laser Profiler. It is the most thorough method of detecting surface flaws available.
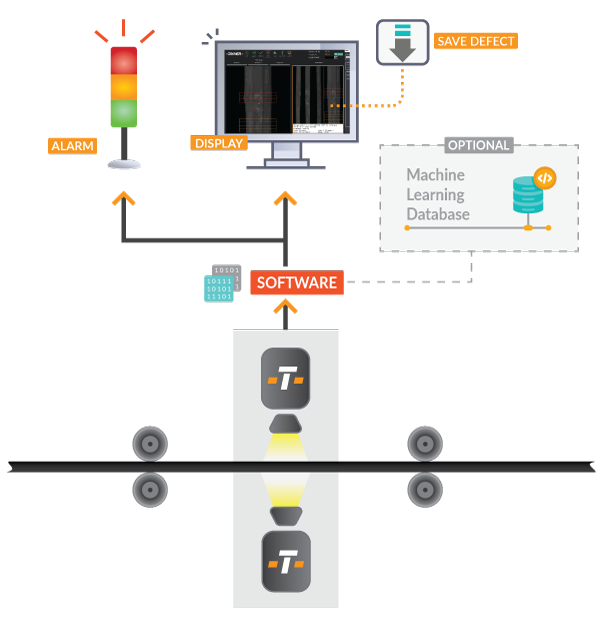
How it works
- The surface defect detection and surface inspection system consists of multiple high resolution cameras and adequate lighting to capture images of cable moving at high speed.
- Multiple cameras are required to cover the full circumference of the cable.
- To ensure consistency, the setup features an enclosure to prevent ambient lighting from affecting the results.
- Advance algorithm is used to process the images for surface inspection.
- A typical algorithm is capable of detecting cable surface defects such as surface blemishes, holes, neck-downs, and bumps.
- If a surface defect is detected, an alarm will notify your operator and an error report is saved to the ongoing data log.


